DIY Enamel Dot Embellishments
If you watch my YouTube channel and/or read this blog on a regular basis, you know that I like to make my own embellishments. I really love the enamel dots that have been in vogue for awhile now, but I see them in the craft store priced at $3.99 for a package of 10 or so dots. Even using a coupon - that does not seem like a good buy to me.
I love the look of the enamel dots on cards so I decided to make my own. It took me awhile to come up with a process that works and looks great. I recently posted a YouTube mini tutorial on this process here (I say mini tutorial because it is as easy as 123).
The materials you will need include:
Wiggly eyes (googly eyes) - found in the kids section at most craft stores
Nail Polish (I buy the cheap stuff from the Dollar Tree)
Flat Topped Toothpicks (optional)
Glue Dots (optional)
Floral Oasis
Here's what I do to make the dots: I roll a glue dot and place it on top of the flat topped toothpicks, next I place the wiggly eye on top of the toothpick, then I select a color of nail polish and paint the wiggly eye. You may need two coats with lighter color nail polishes. That's it. Simple, simple, simple!
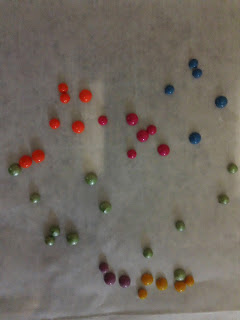
The photos show the materials you will need, the toothpicks in the floral oasis with the wiggly eyes painted and drying, and the finished enamel dots - ready to use!
Note: The floral oasis, glue dots and toothpick system just helps me paint the wiggly eyes with the nail polish. It allows me to get all around the wiggly eye and make sure I don't leave any of the surface unpainted. I hold the toothpick while I am painting the wiggly eye with polish and then stick it in the oasis to dry. Hope this makes sense.
Let me know if you have any questions!


No comments:
Post a Comment