My dining room table = hot mess. Maybe when things return to a little bit of normalcy I will clean it up. I definitely will clean it up if my Mom comes over or really anyone. With the whole stay at home business I have thrown caution to the wind, spread out and just let creativity take over.
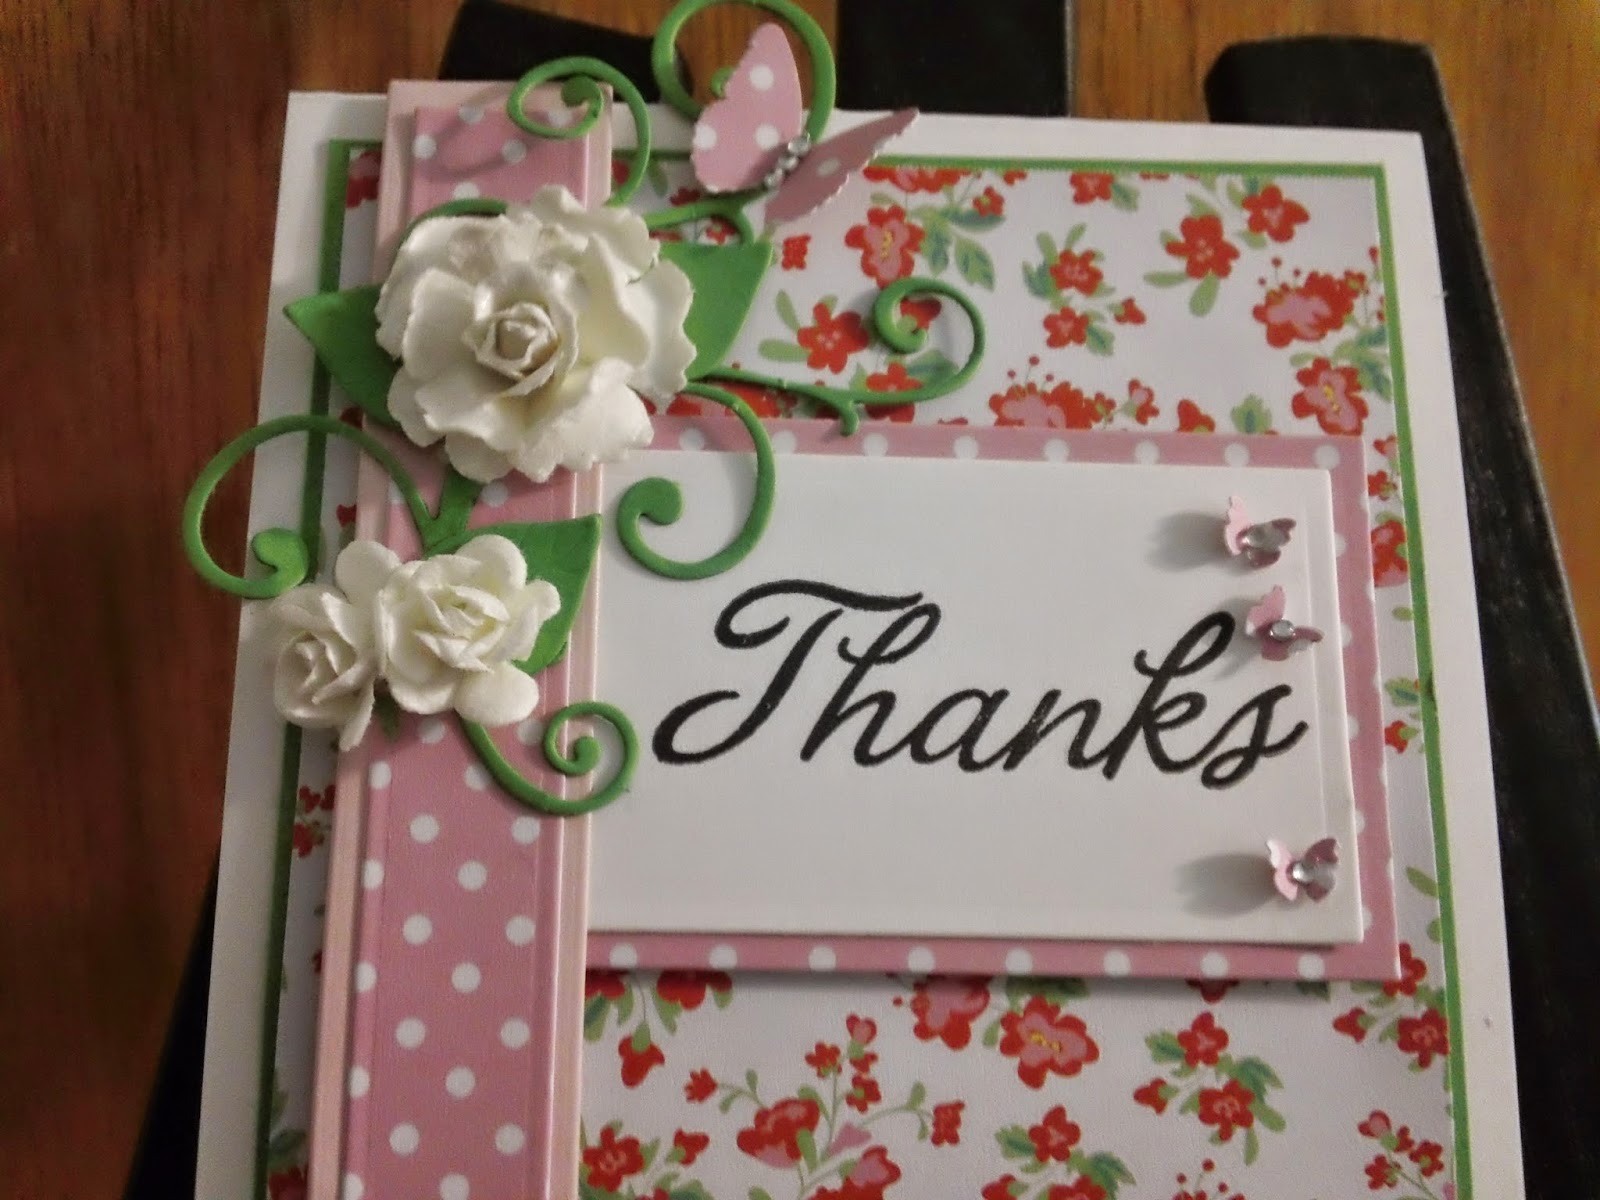
I did manage to make another card. It is pretty dimensional, but it is difficult for me to make a flat card. Card surfaces to me just feel like they need dimensional embellishment. That was not the case when I first started card making. Flat was good then. Maybe I need a twelve step program to get back to non-dimensionality (is that even a thing?). All I know is that I have to be just as creative to figure out how to mail a card like this. Usually, I just end up hand delivering dimensional cards :)
Who is Loretta? Loretta is my grandmother. She was a lady with an abundance of grace, elegance and creativity. Loretta taught me a lot about life and just as much about creative pursuits like sewing, embroidery, re-purposing vintage finds and so much more. The root of my lifelong passion to create started with everything Loretta taught me.
Friday, May 1, 2020
Wednesday, April 8, 2020
I looked at the date of my last post on this blog. Wow - 2014. Amazing to me that it has been six years since my last post. I guess the adage - life gets in the way is the best explanation for the time lapse. Now that many of us are sheltering in place because of the coronavirus, it kind of forces a slower pace. It seems that way to me anyway. It has been about three years since I have really been creative - again life getting in the way and all that. I did not realize how much I missed it until I started doing it again. Maybe Loretta - my grandmother - is giving me a little nudge from above to get back to me. Anyway, I finished a wood project and a birthday card. They were both made with the Cricut Joy. This little machine is great especially for crafters who don't have much space to spread out and create.
Maybe it won't be another 6 years until I post again :)
Wednesday, June 18, 2014
More Cards
It would be helpful if I managed to post these cards as I make them, but I never can seem to do that! So here are a few that I have made in the last three weeks with no supply list because I have forgotten what materials I used! I thought I would post them anyway and resolve to be better about posting the cards as I make them so I can provide a list of supplies used!
Graduation - this is a graduation card I made for one of my nieces who graduated from high school recently. This card is inspired by a card designed by Michele Boyer featured in the Summer 2014 issue of CardMaker magazine.
Father's Day - This card is a card I made for my Dad for Father's Day:
Another Graduation Card - Lastly, here is a card I made for a nephew who is graduating from High School (I made this card on my YouTube channel last week. You can view the video here).
Thanks for visiting my blog!
Wednesday, May 14, 2014
Two Cards
Thanks for visiting my blog!
Monday, May 12, 2014
Thank You Card - MFT Sketch #175
Materials:
MFT Oval Stax 1
MFT Oval Stax 2
MFT Thank You Stamp
Pink Satin Ribbon
Paper Studio Bling
Sunny Days Patterned Paper By Prima
Friday, April 25, 2014
MFT Sketch Challenge
This week I thought I would join in on the MFT Get Sketchy challenge and create a card based on the sketch posted on the MFT blog. I enjoy creating cards from card sketches. It gives you a road map for putting together the card, but the freedom to select all the elements that make up the card (paper, stamps, embellishments, etc.). Here is the card I created from the sketch. You can see me putting together this card on my YouTube channel here.
Materials used to make this card include:
110lb White card stock by Recollections
Spring patterned paper by American Crafts
Thank You Sayings clear stamp set by Hero Arts
Matting Basics B by Spellbinders
Recollections white paper flowers
That's it for today. Thanks for visiting my blog!
Monday, April 21, 2014
EK Success Punch & Stamp Review
I recently purchased two of the EK Success Punch & Stamp sets from Blitsy.com. I have always liked the idea of stamping an image and having a coordinating punch that perfectly punches out that image. The EK Success Stamp & Punch sets each come with 7 stamps (rubber foam mounted stamps) and the coordinating punch. You will see photos of the punch and the stamps at left. I purchased the Retro Bottle Cap set and Just for You set. I have to say that I am not a fan of the rubber foam mounted stamps. Some of the stamps in the set stamp fairly well while others - especially the stamps with fine line type (you can see what I am talking about in the Gee Your Swell stamped image. The Swell stamps fine, but you can hardly see the "Gee Your" part of the sentiment). For the Gee Your Swell sentiment stamp, I masked off the Gee Your Swell by punching a 1.25 inch circle from an Avery Label Sheet, inked up the stamp, removed the Avery Label mask and stamped. I then stamped another sentiment from a photopolymer Avery Elle stamp set - much better! You will see this in a photo at left as well.
I will use these sets, but probably not as often as I might have if all the images stamped well. I think it would have been better if EK Success used clear photopolymer stamps in these sets instead of the rubber mounted on foam stamps.
Subscribe to:
Posts (Atom)