Saturday, December 29, 2012

Happy New Year!


I can't believe we are headed into a new year.  The last year went by so quickly - or at least it seemed to me that it did.  I think that is what happens when you get older - the years go by at warp speed.  Anyway, the holidays really snuck up on me this year.  I am usually able to make all my holiday cards and get them sent out in time for the holidays.  Not so much this year.

I just could not get my act together and get them all made.  One of my friends suggested I make some Happy New Year cards.  That seemed like a good idea and gave me more time to make a few cards to send out to some friends.

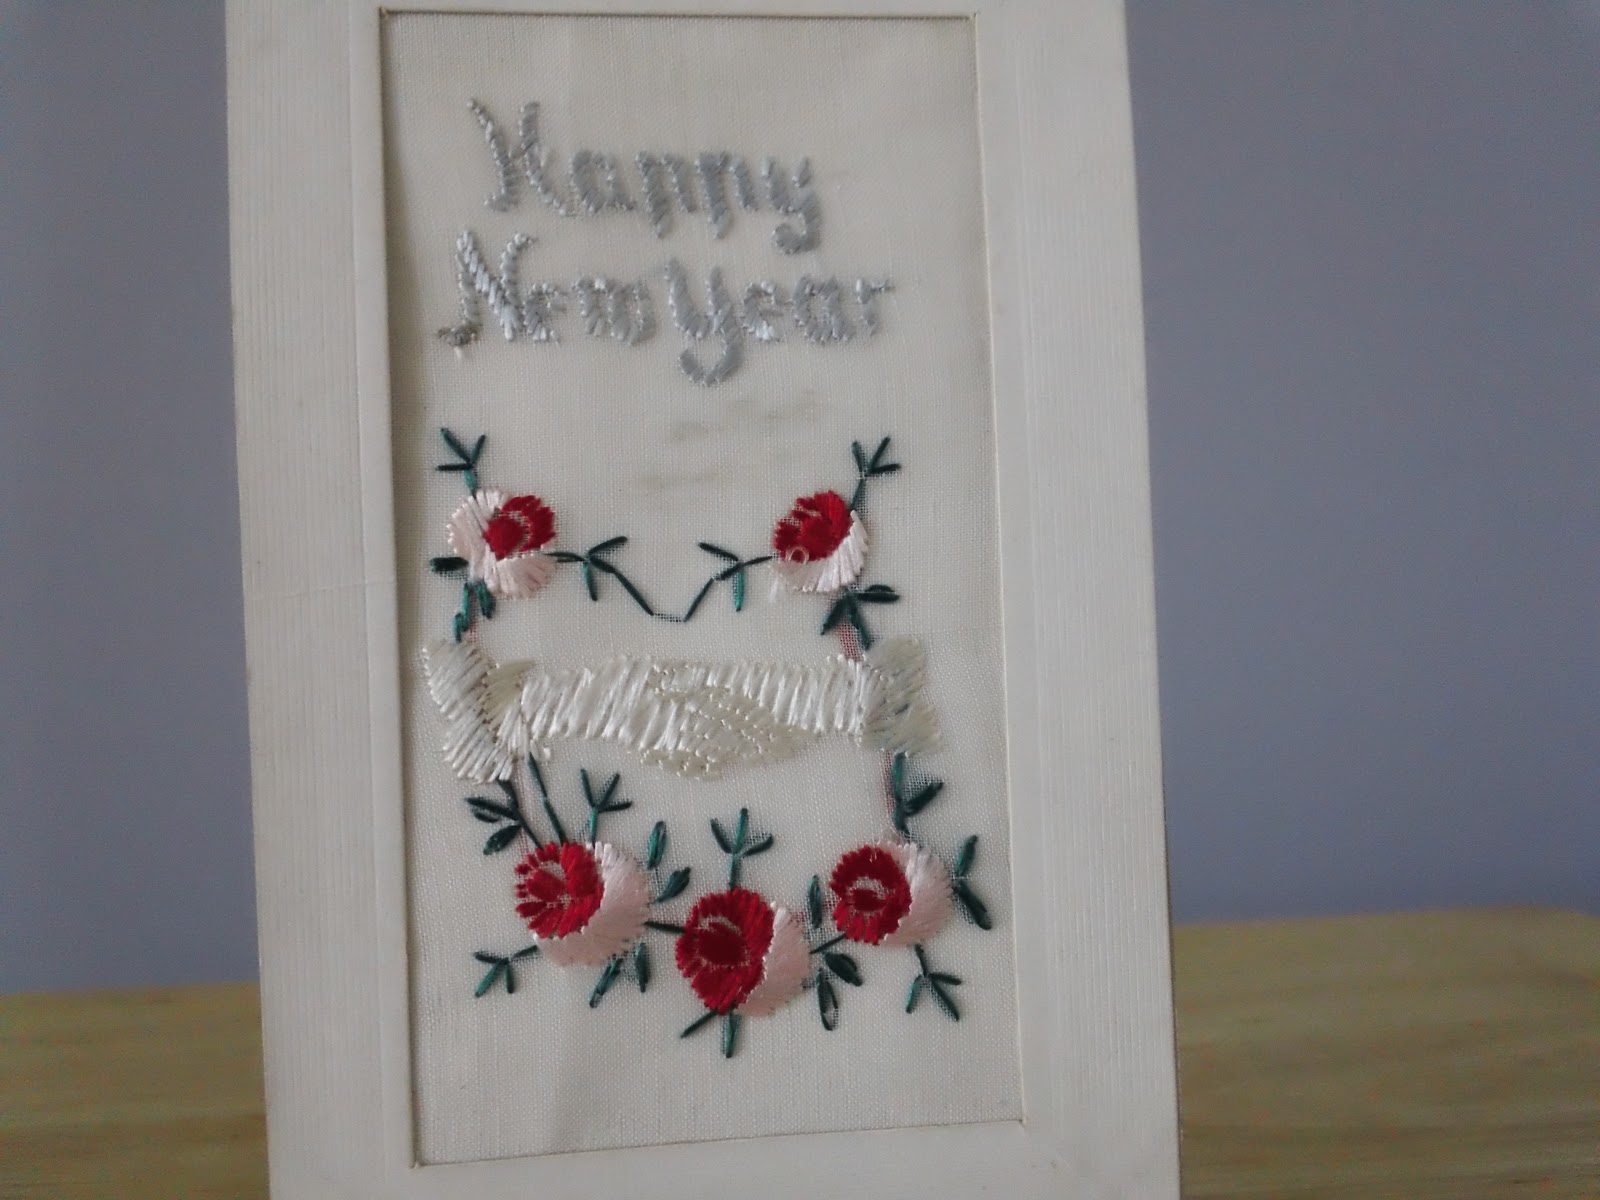
The cards pictured here were made with the My Favorite Things Peek-A-Boo Squared die.  The numbers were cut out using the Sizzix Lollipop numbers dies.  The glitter paper and other specialty papers were purchased at Hobby Lobby and the card base is made out of Papertrey Ink's Smokey Shadow card stock. I cut out the Happy New Year sentiment on the inside of the card with my new Silhouette Cameo (LOVE this machine!).

I wish you all a very Happy and Healthy New Year!

Monday, December 24, 2012

Santa Came Early.........


I received a new Silhouette Cameo for Christmas.  Actually, I sold my Cricut Expression and all my cartridges to help Santa with the purchase.  I am really having a blast cutting with this new machine.  I loved my Cricut Expression and used it a lot, but the one thing that the Cricut did not do well was make intricate cuts and that is the one thing I really wanted it to do.  Sooo... after much research - reading blog posts and watching YouTube videos - I decided to invest in the Cameo.

Like anything else there is a bit of a learning curve, but the Cameo is very easy to use.  When I first started downloading images from the Silhouette store it was not going well. The folks at Silhouette were updating their website and that created a lot of glitches.  I had an issue associated with this and called customer service - my issue was resolved with this one phone call -  the Silhouette customer service was excellent.  The Silhouette website is now running smoothly.  I know this because I visit it about once a week to use my gift cards that came with my Silhouette to purchase and download images.

I purchased my Silhouette from Overstock.com.  The package included the Silhouette Cameo machine, a dust cover for the machine, glitter and adhesive paper as well as $35 in downloading gift cards to the Silhouette store.

The designs I have been gravitating to on the Silhouette store (and there are thousands of designs in the store) are the ones that are the most intricate to cut.  It is so much fun to lift these designs off the cutting mat and see the beautiful results.

The Silhouette does not cut chipboard, but that was not high on my priority list as I have Sizzix and other dies that have that capability.

I really am enjoying the Cameo!  If you have any questions about the Cameo, please don't hesitate to ask and I will be happy to try to answer them.

Happy Holidays to you and yours!

Monday, December 10, 2012

Whew.... Project Complete


A few weeks ago I shared one of the boxes I made for a 12 Days of Christmas project on a blog post.  I have finally finished the project which was made for some friends who have four little girls.

Following are some photos of the finished project:


This project took about a month to complete.  I first cut out the parts of the box from light weight chipboard using the Sizzix Box, Candy Drawer Die.  I then painted the raw chipboard with white acrylic paint.  Next, I selected paper out of the Bright & Jolly paper pad from Recollections (I think I purchased this from Michael's last year) and cut the paper down to size to cover the box parts.  I pre-scored the paper where the score lines were on the cut out box pieces and then used Mod Podge to glue the paper to the box parts.  Next, I folded the box parts on the pre-scored lines and put the box together using the super strong redline tape.

After all that, I decorated each box using items I purchased from Hobby Lobby (holly leaves, red bows, small wreaths, small snowmen ornaments and Peace, Joy, Noel ornaments).  I die cut the numbers from glittered card stock using the Tim Holtz Word Play die by Sizzix and the Lollipop Numbers die set also by Sizzix.  I glued everything to the front using Beacon's 3 in 1 craft glue.  The drawer pulls are small wooden spools painted in various colors of acrylic paint (red, blue and green) with Christmas brads glued to the center of the painted spools.

Each drawer contains a small bag with candy or other small gifts and these bags are decorated with a tag that denotes the day of Christmas it is (i.e. first day of Christmas, etc.).  The stamp set I used to make the tags is an ADORABLE set by Penny Black and is called 12 Days of Christmas.  I forgot to photograph the tags for this blog post, but you can go to my YouTube channel and see the finished product including some of the tags.

The top sign was made using heavy chipboard, silver glitter paper and a felt Ho, Ho, Ho ornament from Hobby Lobby.  I purchased the Santa on a spring from Hobby Lobby as well.

Finished just in time to mail it off.  I hope the recipients will like it and I hope you like it!

Monday, December 3, 2012

Never Be Afraid to Try....


When I have time,  I love reading the blogs of artists like Linda Duke. Her blog is called Linda's Works of Heart.  Her creations are pure eye candy.  I just love everything she makes.  Her style seems so elegant to me.   I came across a Christmas tag she featured in an October 31st blog post and absolutely loved it.   I really wanted to recreate it, but was not sure if I could come close to the beauty of what Linda created.  But then I could hear Loretta's voice in my head saying "never be afraid to give something a try."  Well, I did give it a try.  You can let me know what you think of my effort.

Linda's tag was done in cream and silver and was absolutely breathtaking.  I used creams and blues for my tag.  The paper I selected was taken from the O Christmas Tree paper pad by My Mind's Eye. This is a Christmas paper pad from 2010.  I also used two Spellbinders dies - the larger circle is the largest of the Splendid Circles dies and the next circle is the third largest of the Lacey Circles dies.  I cut a rosette using the Tim Holtz rosette die (the die with the two sizes of rosettes on it.  I used the larger of the two sizes from this die) and my circle cutter to cut a 2.75 inch backing circle for the tag.  I used Doodlebug Glitter and spritzed the entire piece with Lindy's Stamp Gang Frozen Jack Frost Starburst spray.  The silver wired tinsel came from Hobby Lobby (a 72 foot roll for $7.50 - half price - not bad!).  The blue ribbon is some I have had in my stash forever - it is .25 inches wide.

It took awhile to make this tag, but I think it was well worth the effort!

Tuesday, November 27, 2012

Everything In Its Place


I love going thrift shopping and frequently stop into my local Goodwill store to see what treasures I might find.  Loretta taught me a love of thrift shopping and re-purposing vintage items.  One of my favorite things to look for in thrift shops is old silver plate.  You can often find items from vintage tea sets - old tea pots, creamers, sugar bowls, etc.  You can use these items to hold things like buttons, pens and pencils or other craft and sewing supplies.

I like to use the creamers to make pin cushions.  Here is one I made about three years ago.  I use it to hold the stick pins I have been making lately.  Isn't it nice when you have a place for everything and everything is in its place!  This is such a nice way to store and display the stick pins.  I love looking at it.

Next time you see a vintage item like this creamer at the thrift shop - don't pass it by.   Give it a new home and see what you can do with it!

Saturday, November 17, 2012

Maybe It's Because I am Vintage...


I just love vintage stuff.  Anything that is old and worn and looks well loved is preferable to new in my book.  My husband can't understand why I would prefer something old to something new.  His theory is that since I am getting close to being classified as vintage myself, like gravitates to like.  I won't tell you how I responded to that!

My theory is that it must have been all the years I spent going to garage sales, estate sales, thrift stores and antique malls with Loretta.  she had a good eye and taught me a lot about vintage linens, jewelry and furniture.  I have such fond memories of her telling me stories about things they used in her era (she would always begin her stories with the phrase "In my day').  It was so much fun learning about things like a celery vase (What??? I had no idea there was such a thing). Loretta explained to me that in the Victorian era (a little before Loretta's time), cooks cleaned and scraped raw stalks of celery, then put them in cold water in tall glass vases called celery vases.  I have serveral of these vases in my dining room holding silverware.  Love them!

Being a card maker, I also love vintage postcards.  I don't have a large collection, but I try to pick them up when I see something that appeals to me.  I am especially drawn to the embroidered postcards.  I am going to have to find a way to make something like this myself.  Loretta taught me to embroider a long time ago and I always have a project in progress so I have kept up the skill.  I have been thinking about how I might make something like these embroidered cards.  Wouldn't it be special to receive something like this in the mail?  Or how about this one wishing you a happy new year?  


This one (the last photograph) is a favorite of mine even though it does not have any stitching on it.  I just love the intricate paper frame.  I want to make something like this too!


Wednesday, November 14, 2012

Loretta always taught me that if you are going to do something, take the time to do it right. I am starting on a Christmas project that involves making 12 drawers and 12 tags (one tag to go in each drawer).

My first attempt at making the drawer was an abysmal failure.  I used the Sizzix Box, Candy Drawer die (#657726) and some chipboard I purchased from Joann.com.  I am not sure, but I think it must have been heavy weight chipboard.  Anyway, my box was too bulky and the drawer would not slide in and out easily. You can see my first attempt in the photo on the left.  I should have tested it first before I painted it since I can't use this version of the box.

If at first you don't succeed, try, try again (Loretta would always say this as well).

I did not want to use heavy weight card stock to make the drawers because that would not be sturdy enough to hold up to the repetition of the drawers being pulled out and pushed back in. I rummaged through my stash and found some light weight chipboard my husband brings home from work.  This worked like a charm.  The drawer easily slides in and out.  Yeah! Success!

The photo on the left is of the first finished drawer/box.  The number one was cut from red glittered card stock purchased at Hobby Lobby using the Tim Holtz/Sizzix Word Play die.  The paper covering the box is from the Recollections Bright & Jolly paper pad purchased at Michael's last year.  The knob is a small wooden spool purchased at Hobby Lobby and painted red.  I glued a Christmas themed brad onto the front of the knob to complete the "drawer pull."  The white scalloped trim at the bottom of the box is a Doodlebug Frills border sticker.The holly leaves were purchased at Hobby Lobby last year.

One box down, 11 to go!  I will post a photo of the project once it is complete.

Friday, November 9, 2012

Organized Chaos!


Loretta always taught me that one of the keys to any successful project is organization.  I wonder what she would think of the organized chaos that is my Christmas card making project?

I gathered the supplies for making my cards this year and the pile needed a place to go.  The desk is the logical landing place for it.  There is one small problem with that plan.  The desk is otherwise occupied with my resin embellishments making project.  You can see in the photo to the right that there really is not any room for another project on the desk.

 The process of making these resin embellishments is quite addictive.  On a totally unrelated side note to this post -you can also see in the photo above that I am using some of my Martha Stewart crafts frame molds to make some of these embellishments.  I determined that a 1 3/8 inch circle fits perfectly inside this frame. The image in the frame is from a CD of ephemera I purchased on ebay years ago (there are sellers still offering these CDs for sale on ebay).  I just used a circle cutter to cut out the image in a 1 3/8 inch circle and fitted it in the frame. EASY!  This embellishment will be making its way onto a card soon.

Okay, back to the organized chaos problem.  The project pile did find a temporary home - it is now resting on my floor waiting for the resin project to vacate the desk.  I am not sure when that will happen (I am having too much fun making these embellishments) so the Christmas card making pile might just have to stay where it is.  That means that I will be making my Christmas cards on the floor. At least I am maximizing the use of all the square footage in my craft room.

I think Loretta would not be so impressed with this organized chaos, but all will be well when I get the cards made and remove the pile of chaos from my floor.  By that time another project will have take up residence on my desk.

Does anyone else use their floor as a "project table" as I sometimes do?


Wednesday, November 7, 2012

Snowflake Embellishments

Loretta always taught me the value of making things myself instead of going out and buying ready made products.  Don't get me wrong- I love to shop for craft supplies and do so as much as the budget will allow.  However, I really love making my own embellishments for cards and projects.

And speaking of embellishments,  I recently took inventory of the supplies I had on hand to make holiday cards.  As we head into November, it is now time (and I really should have started in early October) to start making these holiday cards.  I wanted to use some snowflake embellishments on some of my cards and looked at Michael's and Hobby Lobby, but could not find what I wanted so I started thinking about making my own.

I frequently shop the bakeware aisles at the big box craft stores for fondant molds (the silicone molds used in cake decorating).  I use these molds with resin to make embellishments and so went to these stores in search of a silicone snowflake mold.  Since there were no snowflake molds on offer at the stores, I did a search on the Internet and found this snowflake mold (excuse the fact that my mold pictured at left is a little grungy - I have been churning out resin snowflakes like crazy).  The mold did not get good reviews on Amazon.com because apparently some of the reviewers felt like it was a little shallow for using it with fondant, but it is just fine for resin!

I use this resin that you can purchase at Michael's or Hobby Lobby and likely other places as well, but those are the two places where I have purchased it. I use a coupon to make it more affordable (regular price it is about $13.99 - I purchased a few packages over several days this week with the Michael's 50% off coupons). The resin is really easy to use - just follow the instructions on the package.

I mixed the resin according to the instructions on the package, added in a few drops (two or three) of acrylic paint, mixed it all up with a wooden craft stick and poured it into the mold.  Easy, peasy!

Since the snowflake mold is shallow, the resin sometimes overflowed out of the area of each snowflake on the mold (You can see this in the photo of the filled mold to the right).  I just used a squeegee to level off the resin in each of the snowflake mold areas.  If I had some excess resin on the snowflake after I removed the hardened snowflakes from the mold, I just cut it away with some small nail scissors.

I usually pour the resin into the mold in the morning and leave it to harden overnight.  The snowflakes pop out of the mold very easily.  These photos show a few samples of the snowflakes I have been making. The white ones were made using a few drops of white acrylic paint in the resin and the blue ones were made with an Apple Barrel acrylic paint called "Cloudless."  I mixed two drops of the cloudless color and one drop of white into the resin mixture which resulted in the light ice blue color I wanted to achieve.

I started making cards using these handmade embellishments and was really pleased with the results.  The card pictured below was made using Papertrey Ink rustic white card stock as the card base and Recollections Bright and Jolly patterned paper from a pad purchased at Michael's last year. The Merry Christmas sentiment is from a Hero Arts Holiday Cheer Messages stamp set. The card is a 5 inch by 5 inch square card with the corners rounded using the WR Memory Keepers 1/2 inch corner chomper.

The snowflakes were also brushed with mod podge and sprinkled with clear fairy dust glitter by Donna Salazar.

Making these snowflake embellishments is so much fun.  I know Loretta is smiling down at me as I make my own instead of buying them.  This type of resourcefulness is definitely something she taught me the value of.